By Shannon at Southern Schoolhouse
To celebrate Mother’s Day, you can have your students create a special, personalized keepsake that is both creative and full of heart. This simple yet meaningful project allows students to express love and gratitude while adding a playful twist, turning their message into a puzzle!
STEP 1: On separate pieces of paper, provide students with a variety of message options to choose from for their Mother’s Day project (see examples below). You can either prepare a puzzle template ahead of time or allow older students to design their own. Choose the option that best fits your class’s age and needs.

- You are the heart of our family.
- Mom, your love is the glue that holds us together.
- Thank you for always being there with a smile and a hug.
- Your love makes every day brighter.
- Happy Mother’s Day to the most wonderful mom!
- The world is a better place because you’re in it, Mom.
- Home is wherever I’m with you, Mom.
- Every moment with you is a treasure.

STEP 2:
Print the selected message with or without puzzle template onto cardstock to create a sturdier base for the project. This will ensure the puzzle holds up better when cut laminated and handled.
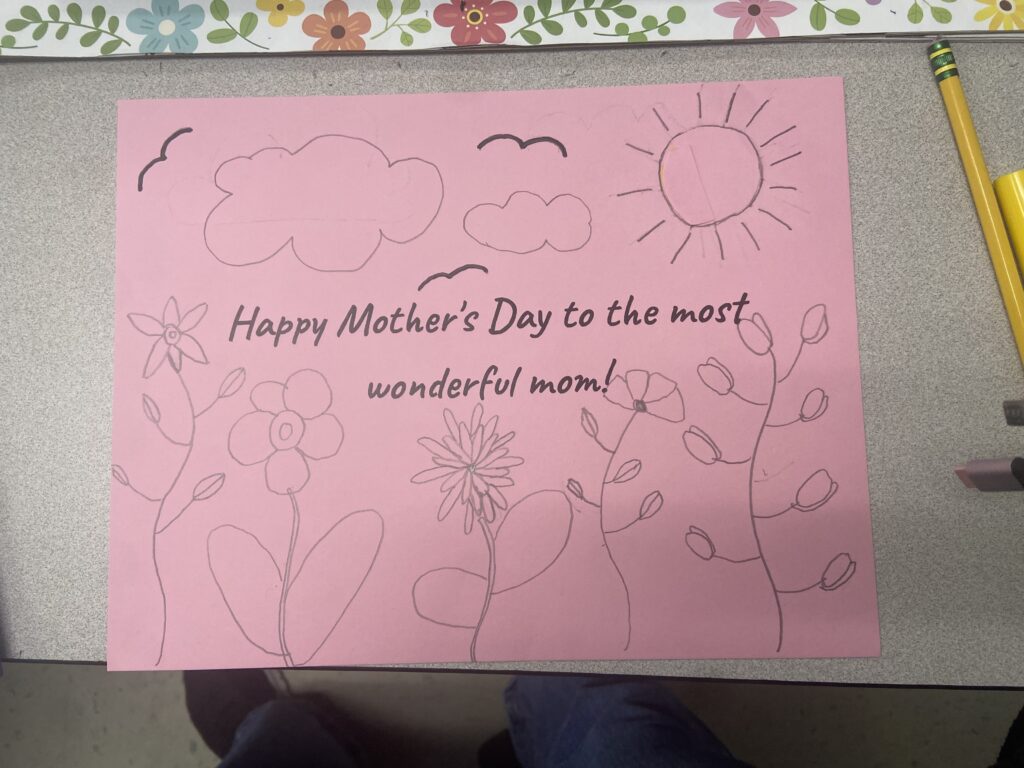
STEP 3:
Design your picture. Encourage students to create a drawing that reflects something their mom loves. They’ll know best, whether it’s hearts, coffee, pets, or flowers! In the example, I chose flowers because it’s springtime and my own mom loves them, but students should personalize their design based on what’s meaningful to their mom.

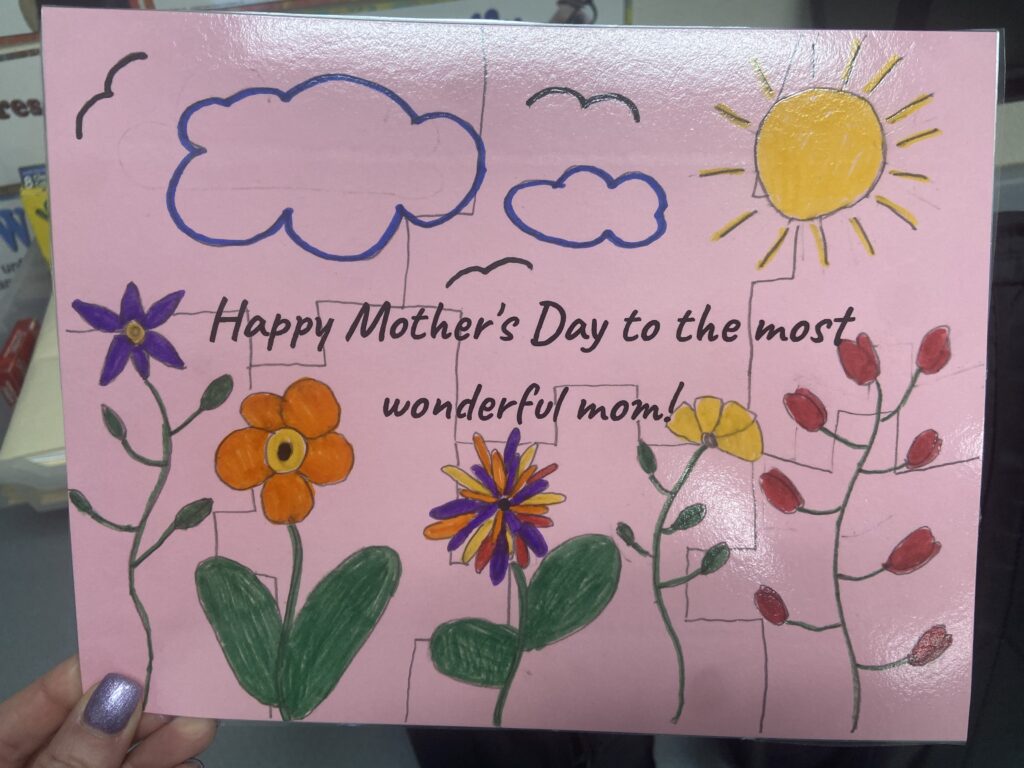
STEP 4:
Bring your picture to life by coloring it with markers, colored pencils, or crayons. Use bold, vibrant colors to make it extra special for your mom!
STEP 5:
If needed, lightly draw the puzzle lines over your artwork to guide your cutting. Some students may prefer to cut and design their pieces as they go, either approach works! Once finished, laminate the artwork to make it more durable before cutting.

STEP 6:
Carefully cut along your puzzle lines. Be sure to size the pieces appropriately so they’ll fit into whatever container or envelope you plan to use for gifting.

STEP 7:
Place the puzzle pieces into a pouch, envelope, or container of your choice. Add a ribbon, tag, or small note if you’d like to make it extra special for Mother’s Day!