
By Joy at the Southern Schoolhouse
Disclosure: This post may contain affiliate links, meaning we get a small commission if you decide to make a purchase through our links, at no cost to you.
Disclosure: This post may contain affiliate links, meaning we get a small commission if you decide to make a purchase through our links, at no cost to you.
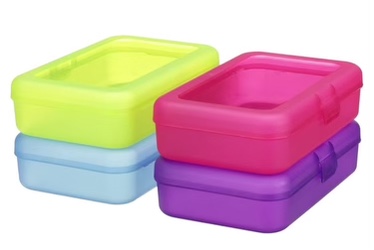
Prior to owning my sand tray. I used a plastic pencil box filled with a little salt or sand. I filled the entire bottom of the pencil box with about a half an inch of sand. These boxes were perfect due to the built-in lid. They also are stackable to make storage a breeze. I would recommend sharing one box per group so you can keep your hands on the sides as they form their letter. If each child has their own, sand could spill.
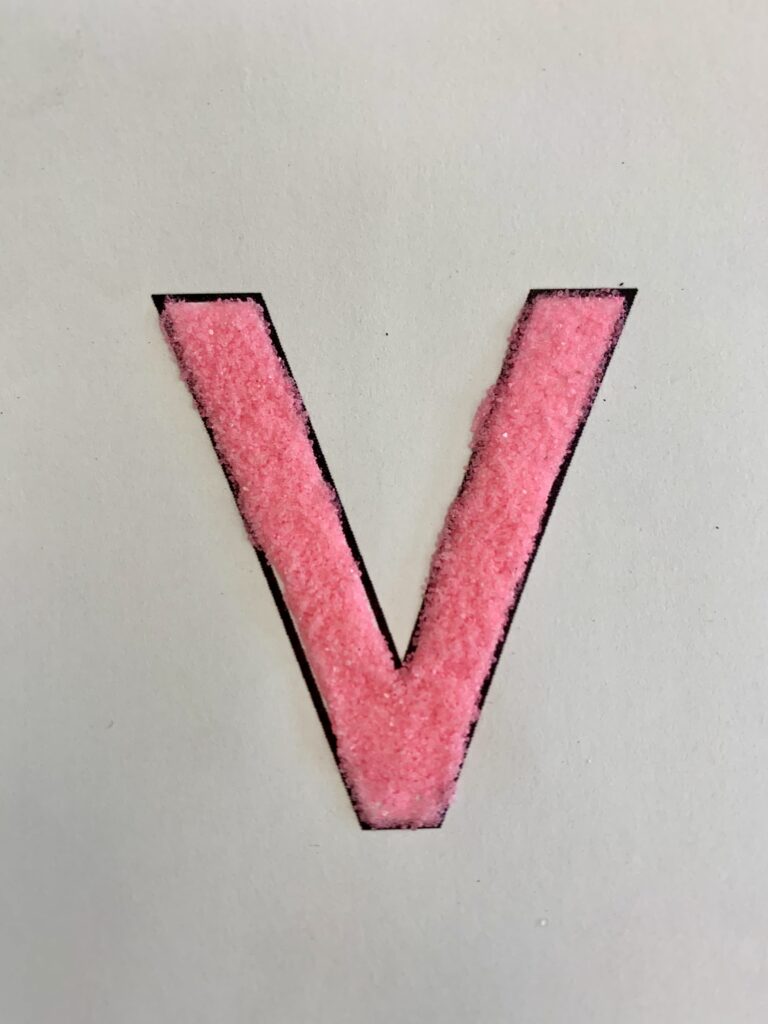
I introduce them as my magic letter boxes and show the students how I gently shake the sides back and forth to erase the formed letter. Having to wait their turn increases patience and self discipline. A former colleague also left me her DIY sand letters. These were made using outline letters filled with glue and sand. There are many free versions of letter outlines available on TPT (Teachers Pay Teachers). I use these sand letters to trace prior to the forming of the letter in the sand tray. See my article on How to Teach Letter Identification and Formation for more details on my classroom routine.


One Response